
Installing Nextcloud Files on Windows (and choosing what you sync)
With the Nextcloud Files app, you see the files from your WebOké Nextcloud right in Windows Explorer. You open and edit them there, and whatever you put in the folder automatically goes to your Nextcloud. Below you'll find how to install the app and how to choose later which folders end up on your computer.
Installing and connecting the app
- Download the Nextcloud Files app and go through the installation.

- Log in to your Nextcloud in your browser first, if you haven't already.
- Open the Nextcloud Files app and click Log in.

- Enter your Nextcloud's address, for example
https://cloud.yourdomain.com, and click Next.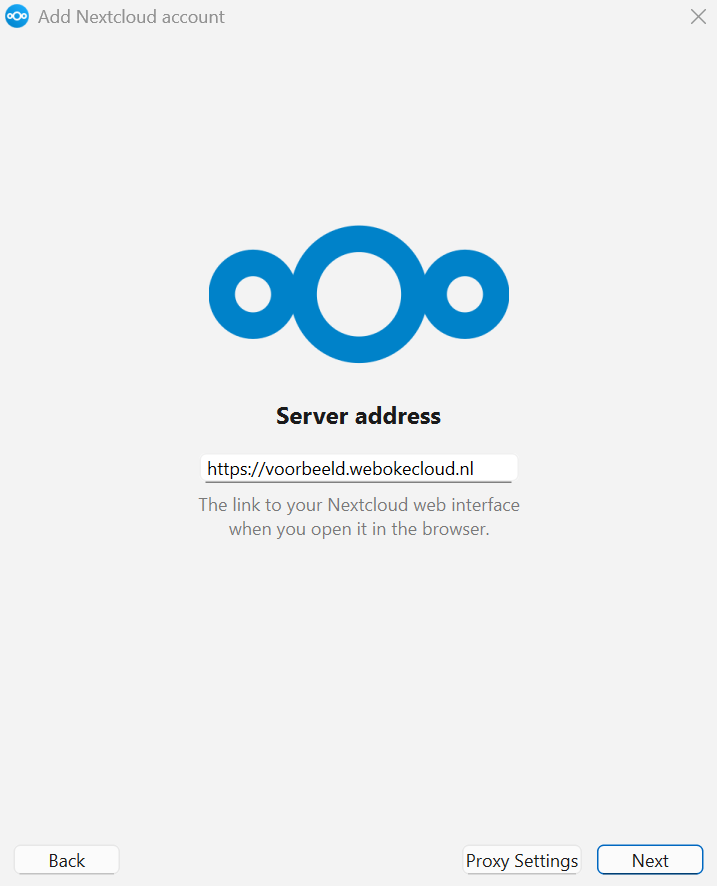
- Your browser opens. Click Log in.

- Log in with your Nextcloud account if needed and click Grant access.

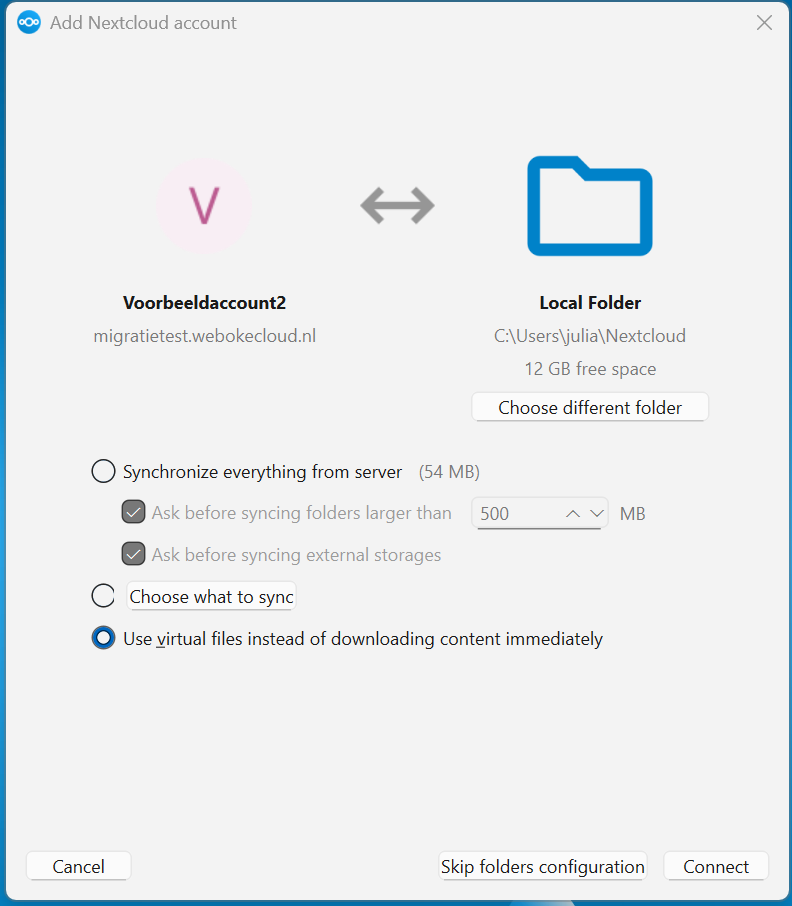
- Go back to the app and choose how you want to sync (see below). Then click Connect.
- Done. Your computer is now connected to your Nextcloud.
Which option suits you?
- Synchronize everything from server: everything is in both your Nextcloud and on your computer. You can always access your files without internet. But if you use 100 GB in your Nextcloud, that also takes up 100 GB on your computer.
- Choose what to sync: you choose yourself which folders end up as actual files on your computer. Handy if you only need a few folders offline.
- Use virtual files instead of downloading content immediately: you see all your folders and files in Explorer, but nothing is downloaded until you open it. This takes up almost no space. Without internet, you can only access what's already downloaded.
You're not stuck with your choice: you can change it later.
Choosing later which folders you sync
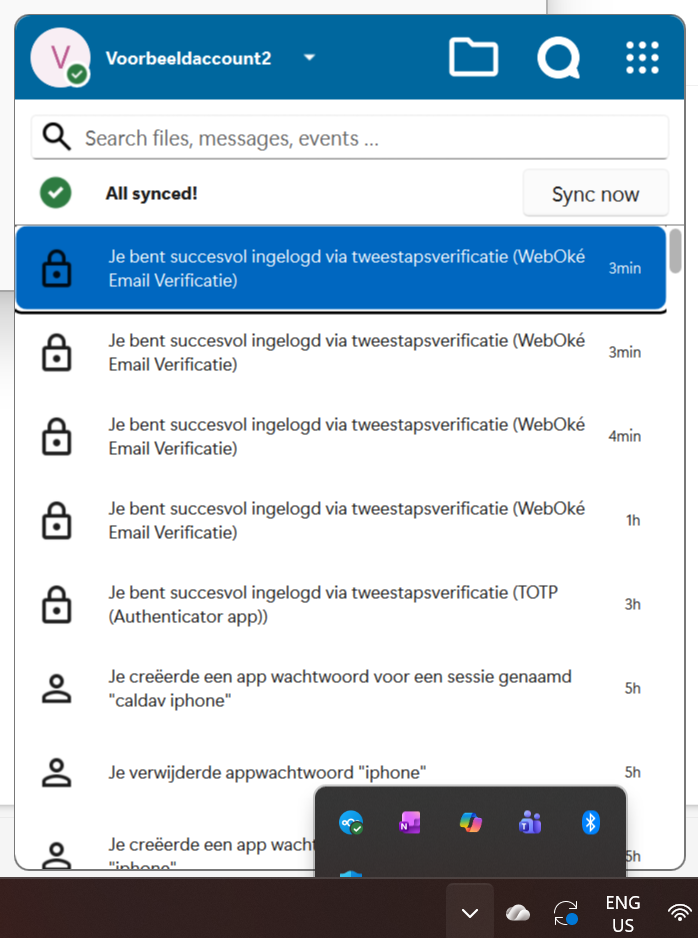
- Click the Nextcloud cloud icon in the bottom right of the taskbar.
- Open the app's settings via your name or profile picture at the top of the window and choose Settings.
- Choose your account on the left. Click the three dots next to the folder that's being synced and choose Choose what to sync.
- Check or uncheck folders. With Sync all and Sync none you turn everything on or off at once.
- Click Apply.
Turning virtual files on or off
Open the app's settings, click the three dots next to the folder under your account, and choose Enable virtual file support. With Disable virtual file support you go back. The app then downloads everything you've checked.
If you use virtual files, you won't see checkmarks next to the folders in the settings. That's normal. You then choose per folder in Explorer, using the right mouse button:
- Always keep on this device: the folder always stays on your computer, even without internet.
- Free up space: the copy on your computer is removed, the files remain in your Nextcloud.
Windows doesn't free up space automatically. Whatever you open once stays until you choose Free up space yourself.
Working on a Mac? Read Installing Nextcloud Files on Apple Mac.
Detailed explanation with screenshots: Installing Nextcloud Files on Windows, Selective sync: only specific folders, and Virtual files: see everything, only download what you open in the Nextcloud manual.